

Printable bookmarks are easy to download, but the final result depends on how well they are printed. A bookmark can look sharp and colourful on screen, then come out faded, blurry, or poorly sized if the print settings are not right.
The good news is that printing bookmarks at home without losing quality is simple once you know what to check. With the right file, paper, and settings, you can produce bookmarks that look clean, vibrant, and durable.
If you are starting with a well designed file from a dedicated collection of printable bookmarks, you are already off to a much better start.
Start with a high quality bookmark file
Print quality starts with the file itself. If the bookmark image is low resolution or badly sized, your printer will only reproduce those problems.
A good printable bookmark file should be:
- sharp and clear
- properly sized for print
- designed for home printing
- free from stretching or compression
Using a file from a bookmark specific site helps reduce issues because the layout is usually created with printing in mind.
Choose better paper for a stronger result
Paper makes a major difference. Standard office paper is fine for a quick test, but it often feels too thin for regular use.
For a better result, try:
- cardstock
- heavyweight matte paper
- premium printer paper
- glossy stock if the design suits it
Cardstock is usually the best all round choice because it gives bookmarks a stronger and more polished feel.
Use the highest print quality setting
A lot of home printers default to standard or draft quality. That is fine for general documents, but not ideal for decorative bookmark designs.
Check your print settings and choose the best available option, such as:
- best quality
- high quality
- photo quality
- fine detail
This is especially important for designs with dark backgrounds, gradients, or detailed patterns.
Print at actual size
To avoid distortion, make sure the file is printed at actual size or 100 per cent scale. Automatic resizing can slightly change the proportions and make trimming more difficult.
Printing at actual size helps preserve:
- correct dimensions
- clean edges
- balanced layout
- intended proportions
If you are printing designs from your new collections or popular collections pages, consistent sizing becomes even more important.
Check your ink before printing
Low ink can cause dull colours, banding, and missing detail. If your bookmark looks faded, the issue might not be the design at all.
Fresh ink matters even more for:
- dark colour palettes
- black linework
- rich tones
- gradients
- decorative patterns
A quick ink check before printing can save paper and frustration.
Do a test print first
Before printing several sheets, do one test page. This gives you a chance to review:
- print sharpness
- colour strength
- page alignment
- scaling
- paper handling
A test print is especially useful if you are printing on thicker stock or trying a design for the first time.
Allow the print to dry properly
If you use an inkjet printer, let the printed sheet dry fully before handling it. Fresh ink can smudge, especially on smooth or coated paper.
Lay the page flat for a few minutes before trimming or stacking.
Cut carefully for a cleaner finish
Even a well printed bookmark can look rough if it is cut badly. Careful trimming makes a big difference to the final result.
For the cleanest finish, use:
- a paper trimmer
- a ruler and craft knife
- sharp scissors if needed
Take your time and follow the trim lines closely.
Laminate for extra durability
If you want your bookmarks to last longer, laminating is worth considering. This can be especially useful for children’s bookmarks, gifts, or bookmarks that will get regular use.
You can use:
- self adhesive laminating sheets
- a laminating machine
- clear protective sleeves
This gives the bookmark more strength and helps protect it from wear.
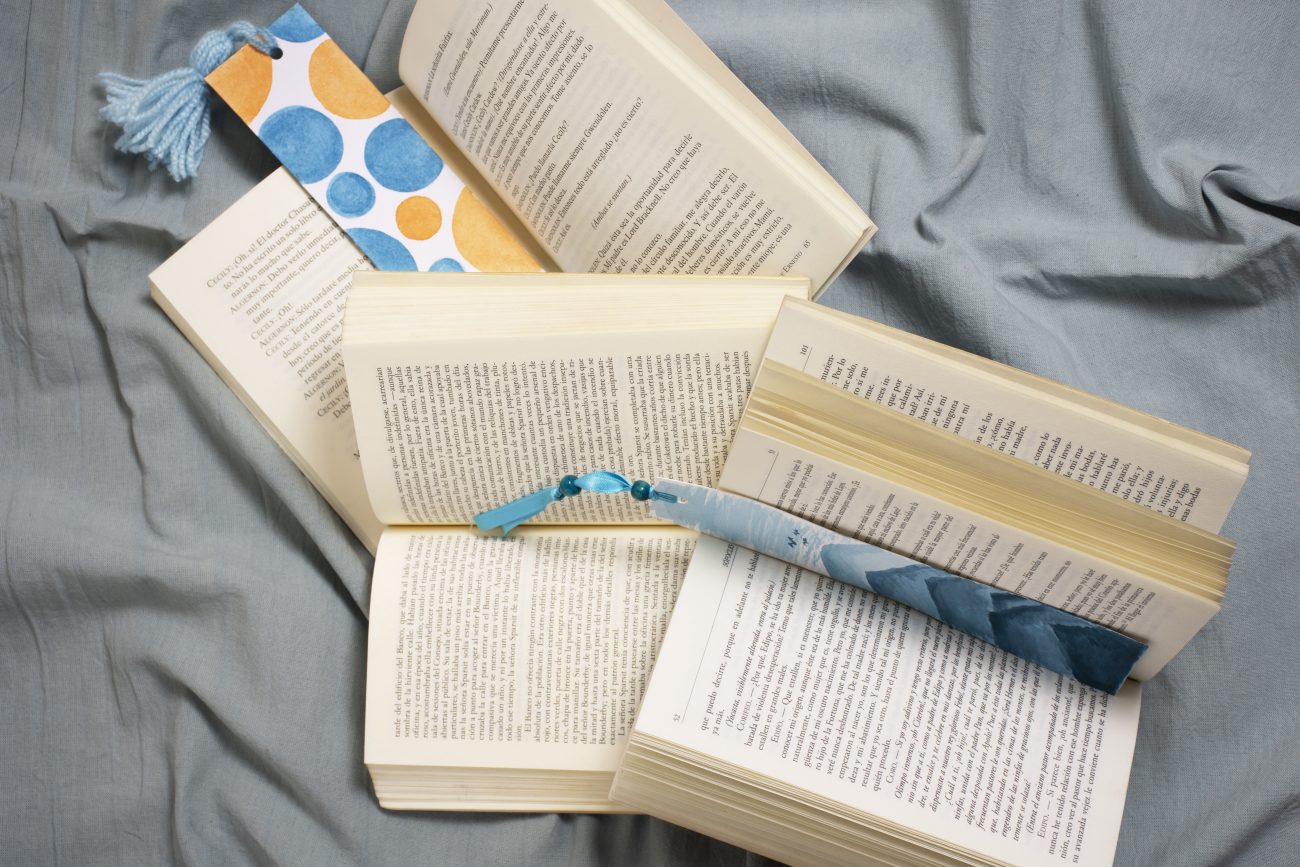
Optional finishing touches
Once printed and trimmed, you can add a few details to make the bookmark feel more complete.
Popular finishing touches include:
- rounded corners
- ribbon
- string
- tassels
- a handwritten note on the back
These simple additions can make a home printed bookmark feel more special.
Common mistakes to avoid
If your bookmarks are not turning out well, one of these common issues is usually the reason:
- low quality source image
- thin paper
- printer left in draft mode
- automatic scaling
- uneven trimming
- handling the page before the ink dries
Fixing even one of these often improves the result immediately.
Final thoughts
Printing bookmarks at home without losing quality comes down to a few practical steps. Use a good file, choose better paper, print at high quality, and trim carefully. That alone can make a big difference.
If you want designs that are made to print well, explore the bookmark range at OnlyBookmarks.com and start with files created specifically for home printing. You can also pair this guide with our article on DIY bookmarks you can print and make today for extra ideas.
FAQ
What is the best paper for printing bookmarks at home?
Cardstock is usually the best choice because it is thicker, stronger, and more durable than normal printer paper.
Why do my printable bookmarks look blurry?
Blurry bookmarks are often caused by low resolution files, draft print settings, or automatic scaling during printing.
Should I laminate printable bookmarks?
Laminating is optional, but it helps bookmarks last longer and protects them from creasing, tearing, and moisture.
Can I print bookmarks on a normal home printer?
Yes. Printable bookmarks are a simple and thoughtful extra to include with books, cards, party favours, or classroom rewards.


Leave a comment
You must be logged in to post a comment.