

If you want an easy craft project that is practical as well as creative, printable bookmarks are a great place to start. They are quick to make, easy to personalise, and suitable for both kids and adults. You do not need expensive supplies or advanced craft skills to create something useful and attractive.
With a printable design, a printer, and a few simple tools, you can make DIY bookmarks at home today.
If you are looking for ready made designs, start by browsing a collection of printable bookmarks that are already sized and formatted for home use.
Why printable DIY bookmarks are so popular
Printable DIY bookmarks combine creativity with convenience. You get the fun of making something by hand without having to design everything from scratch.
They are popular because they are:
- easy to make
- affordable
- suitable for many age groups
- useful for everyday reading
- great for gifts and activities
They are also easy to print in sets, which makes them ideal for homes, classrooms, and small craft sessions.
What you need to make printable bookmarks
You only need a few simple materials to get started:
- a printable bookmark design
- a printer
- paper or cardstock
- scissors or a paper trimmer
- a ruler
- optional laminating sheets
- optional ribbon or string
Most people already have enough at home to make a simple version straight away.
Step 1. Choose a bookmark design you like
The first step is picking a design that suits your style or purpose. This instantly makes the project easier and more enjoyable.
You might choose:
- literary designs
- floral themes
- abstract patterns
- gradient styles
- children’s bookmarks
- decorative collections
A bookmark specific site makes this easier because you can browse by category, interest, or collection. You may want to link readers to sections such as kids bookmarks, literary bookmarks, or new collections.
Step 2. Print on better paper
If you want the bookmark to feel solid and durable, use cardstock or heavier paper. Regular office paper works for quick use, but thicker stock gives a better result and feels more finished.
This is especially important if the bookmark is intended as a gift or for regular use.
Step 3. Cut the bookmark neatly
Once printed, trim the bookmark carefully. Neat cutting makes the result look much cleaner and more polished.
You can use:
- a paper trimmer
- scissors
- a ruler and craft knife
- trim marks if the design includes them
Take your time here because this step has a big effect on the final look.
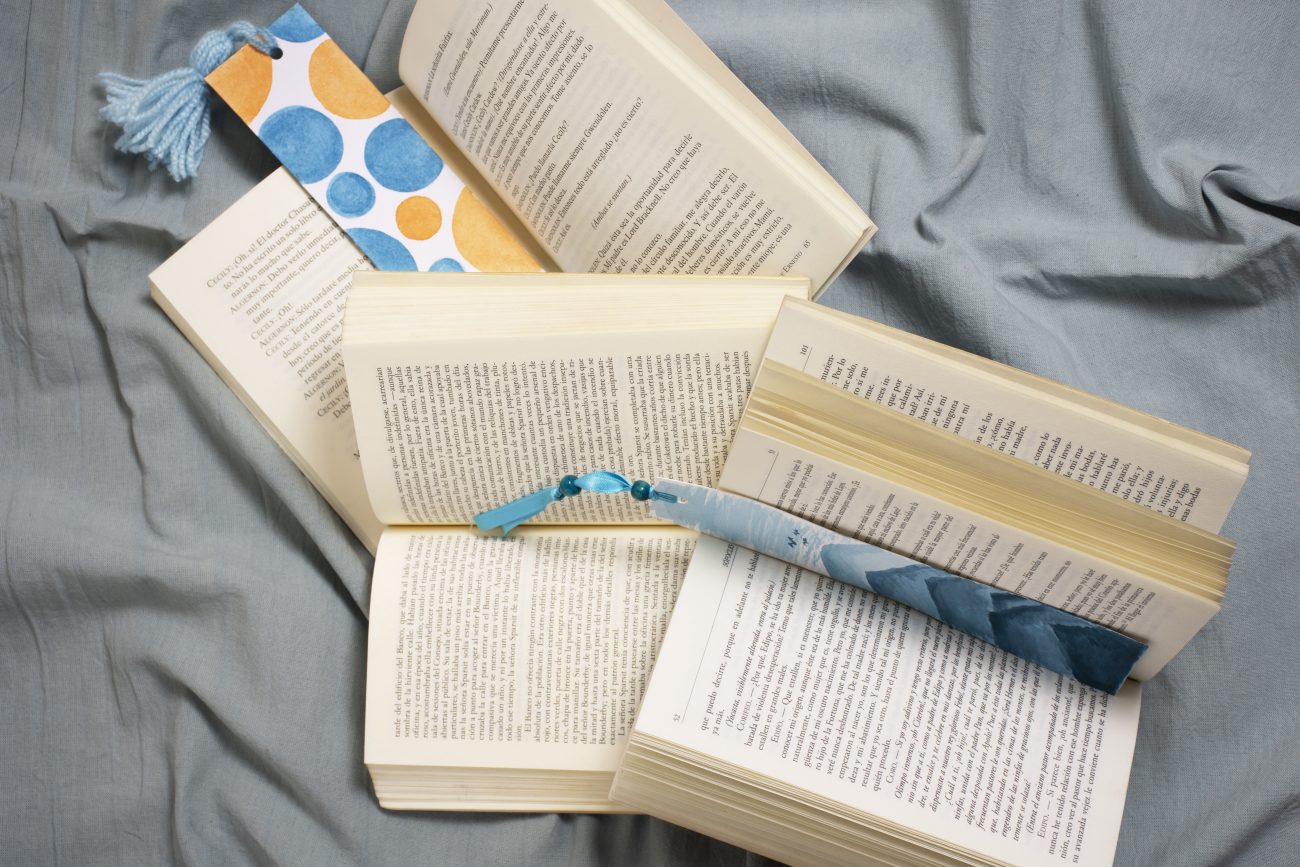
Step 4. Add optional finishing touches
This is the part that makes the bookmark feel more handmade or more personal.
Popular finishing touches include:
- laminating
- rounded corners
- ribbon
- tassels
- stickers
- writing a name on the back
These extras are simple but can make the finished bookmark feel much more complete.
DIY printable bookmarks for kids
Printable bookmarks are an excellent activity for children because they are easy, useful, and not too messy. Kids can choose designs they like, help cut them out, and decorate them further if they want.
This makes them a good option for:
- school holidays
- reading challenges
- classroom craft time
- birthday parties
- quiet weekend activities
A bookmark a child helps make can also encourage them to read more often.
DIY printable bookmarks for adults
Adults often enjoy printable bookmarks as a quick creative project that produces something useful. They are a nice option for readers who want something stylish without buying a ready made bookmark.
Popular styles for adults include:
- elegant artwork
- literary inspired designs
- vintage looks
- minimal layouts
- dark floral themes
- modern abstract patterns
These styles can be left simple or upgraded with lamination and ribbon for a more refined finish.
Printable bookmarks make great gifts
DIY printable bookmarks are also an easy way to add something thoughtful to a gift. If you are giving someone a book, a handmade bookmark is a simple extra that feels personal.
They also work well for:
- teacher gifts
- party favours
- book club swaps
- welcome packs
- reading themed care packages
A bookmark only takes a short time to make, but it still feels considered and useful.
Why printable bookmarks are easier than making one from scratch
Making a bookmark from scratch can be fun, but printable designs save time and usually give a cleaner result. The artwork is already prepared, the proportions are right, and the layout is ready to print.
That means you can focus on the enjoyable part, which is printing, cutting, and customising the final piece.
If readers want help getting a better result, this article pairs well with how to print bookmarks at home without losing quality.
Final thoughts
DIY bookmarks you can print and make today are one of the easiest and most satisfying reading crafts. They are simple, affordable, and suitable for all ages. Whether you want something practical for your own books or something thoughtful for someone else, printable bookmarks are an easy place to start.
Browse OnlyBookmarks.com to find designs you can print, cut, and use today.
FAQ
What is the best paper for printing bookmarks at home?
Cardstock is usually the best choice because it is thicker, stronger, and more durable than normal printer paper.
Why do my printable bookmarks look blurry?
Blurry bookmarks are often caused by low resolution files, draft print settings, or automatic scaling during printing.
Should I laminate printable bookmarks?
Laminating is optional, but it helps bookmarks last longer and protects them from creasing, tearing, and moisture.
Can I print bookmarks on a normal home printer?
Yes. Printable bookmarks are a simple and thoughtful extra to include with books, cards, party favours, or classroom rewards.


Leave a comment
You must be logged in to post a comment.